Spring is here, and oh the sunshine and cool breeze feel great! This morning I opened nearly all the windows of our house and cleaned the dirt and dust in the window sills, letting the fresh air and sunshine into our home!
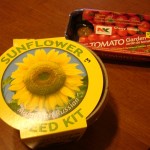
This week I also picked up some indoor starter kits for Leah and I to do together: a Russian Mammoth sunflower kit and a Beefsteak tomato kit. You can count indoor kits for flowers, plants, herbs, etc. as part of your child’s science credits, and it’s lots of fun, especially when you finally get to see the fruit of your labor!
Karen Andreola writes in The Charlotte Mason Companion that Charlotte Mason placed strong emphasis on nature study, for them to be in touch frequently with God’s creation. It rained frequently in spring, and it took time and organization for most classrooms to travel to the English countryside in that time period, so whole days were spent outdoors, devoted to nature study. (p. 169) You and I have the benefit of our own indoor garden, in the comfort of our own home.
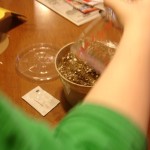
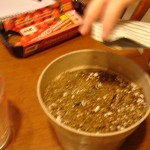
Then Leah planted the seeds, and covered them with the soil. We put the little “greenhouse dome” over it until the seeds germinate. You keep the soil consistently moist to the touch, but don’t drown the poor things. 🙂
Once the seeds germinate, you remove the dome and put it in a sunny window. When the plant reaches about 2″ tall, you transplant it outside when there’s no more danger of frost. You feed it with an all-purpose fertilizer.
The Beefsteak tomato kit was similar. The tomato seeds are tiny! Isn’t God’s creation amazing?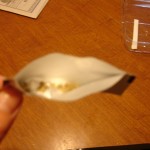 There is a miracle in each seed!
You expand the starter pellets by pouring warm water slowly over the pellets in the tray. They just “poof out,” and it looks kind of funny. 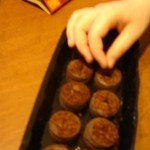
Sow 1-2 seeds in the middle of each pellet and cover it with 1/4 inch of soil. Keep it consistently moist to the touch – just spray it with warm water. You then cover the tray with the little greenhouse dome and set it in a lighted, warm location (but not in direct sunlight).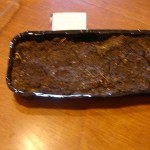
After the seedlings have germinated, you remove the cover and place it near a sunny window. Fertilize it with half strength solution 3 weeks after the leaves appear. You then thin it to one seedling per pellet when plants have 2 pairs of true leaves. (This part of the directions made me smile – as opposed to fake leaves?)
Transplant it outdoors in the sun when it’s past danger of any frost. You can support the plants with stakes or cages. The harvest begins usually 75-80 days after transplanting. There is nothing like eating a fresh, home-grown tomato!
We also have other signs of spring in our back yard, like this beautiful, cherry blossom tree:
I love the purple-pink blossoms on this tree:
What are your favorite things to plant in spring?

